Operation process:
1. Do not talk nonsense, of course, first remove the battery
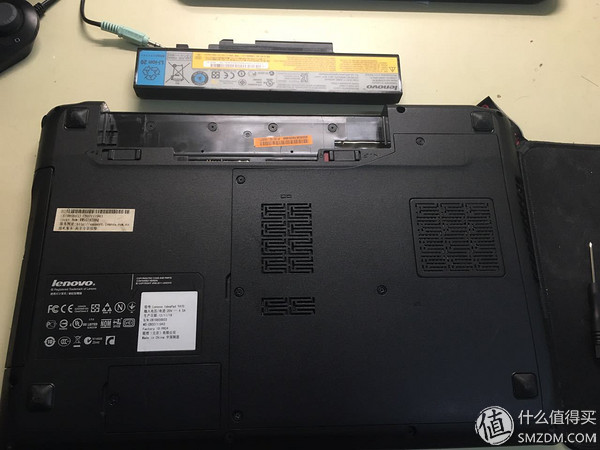
2. First remove the D surface completely.
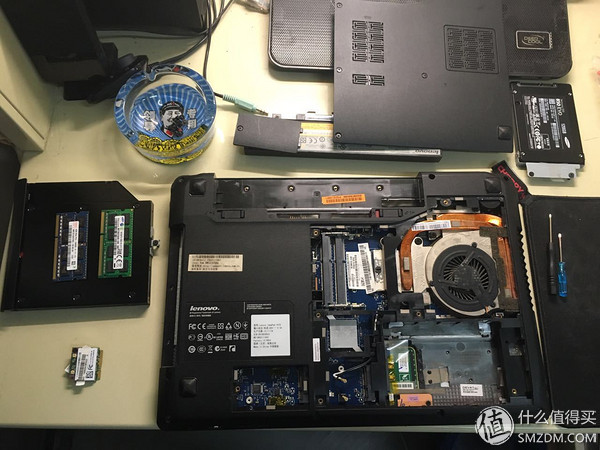
Promise, just like that, here to mention a word no matter what the demolition of electronic products must be remembered after the demolition of all the pictures in a timely manner, it is best to maintain the original position, or else it is wrong to put it back when you go wrong, and often DIY people can ignore
3. Remove the C side. This side is mostly buckled. The demolition of the buckle is a technical task. You must be cautious and considerate. Never believing that you will make a miracle. Otherwise, there will be more than one GG, such as these.


I had an accident when I took the cable at the keyboard
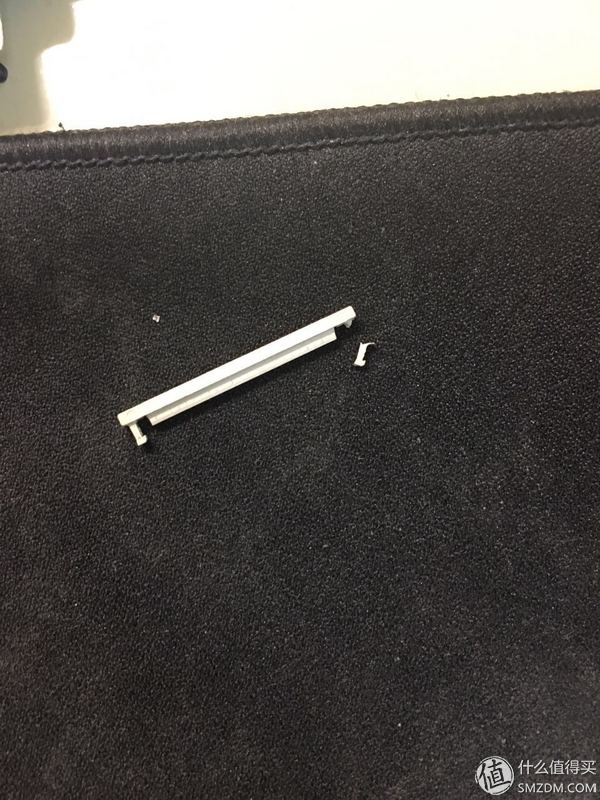
The buckle is broken, but it can be used
The C surface that was demolished is like this

4. Next, you have to remove the motherboard. Although there are only three screws on the motherboard, he is very tight because he has a lot of interfaces on it. Careful attention to the various lines and interfaces, do not undermine their integrity. This is the back of the motherboard, hey! Take a look at the dust on the fan, no wonder you don't need a lol card.
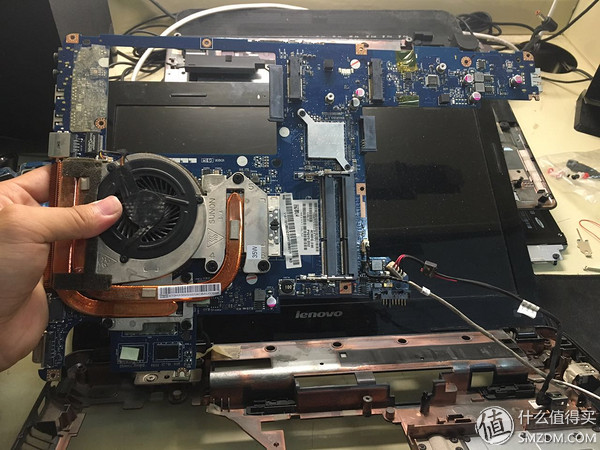
5. Remove the heat dissipation system (fan and copper tube), remove dust and replace grease
The main dust is those that are stuck in the gaps in the heat vents. Blocking the hot air will cause the CPU and GPU temperatures to remain high. 
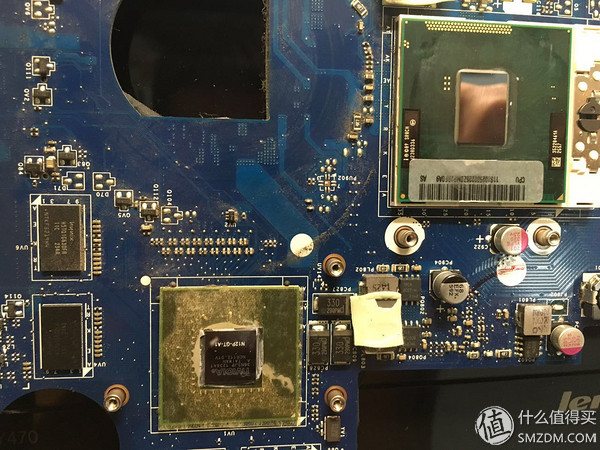
Look at this CPU (top right) and GPU (bottom left), silicone grease is best to change it every year
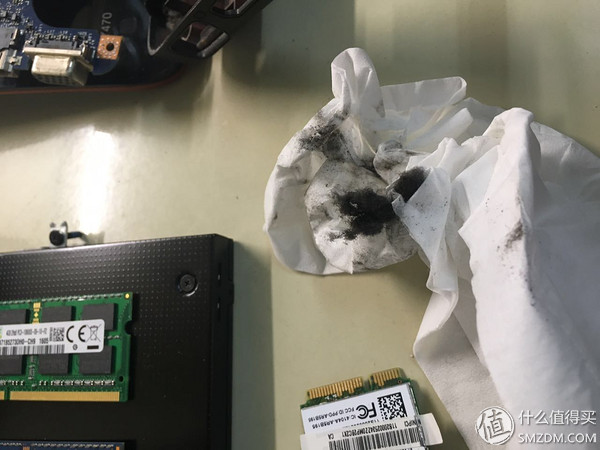
Look at the white paper towel that wiped the radiator, it will not work if it is dirty.
 Well, the upgrade cleaning process has ended to the desktop map
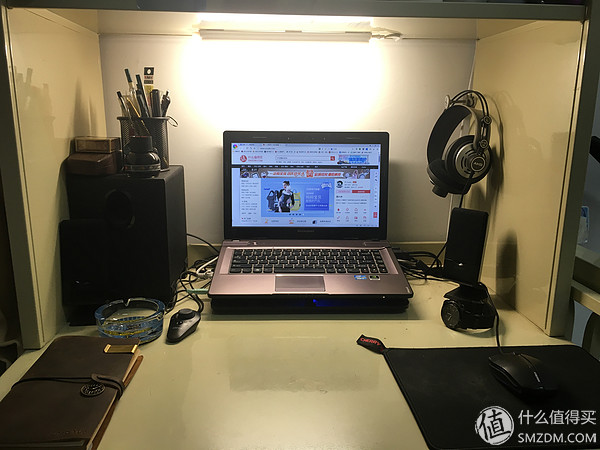
It is very formal, very neat it? . . . . .